The first selection that the user will perform is the type of trigger to configure for the job.
The job can be triggered either via webhook (HTTPS) or via Smart Contract (Smart Contract)
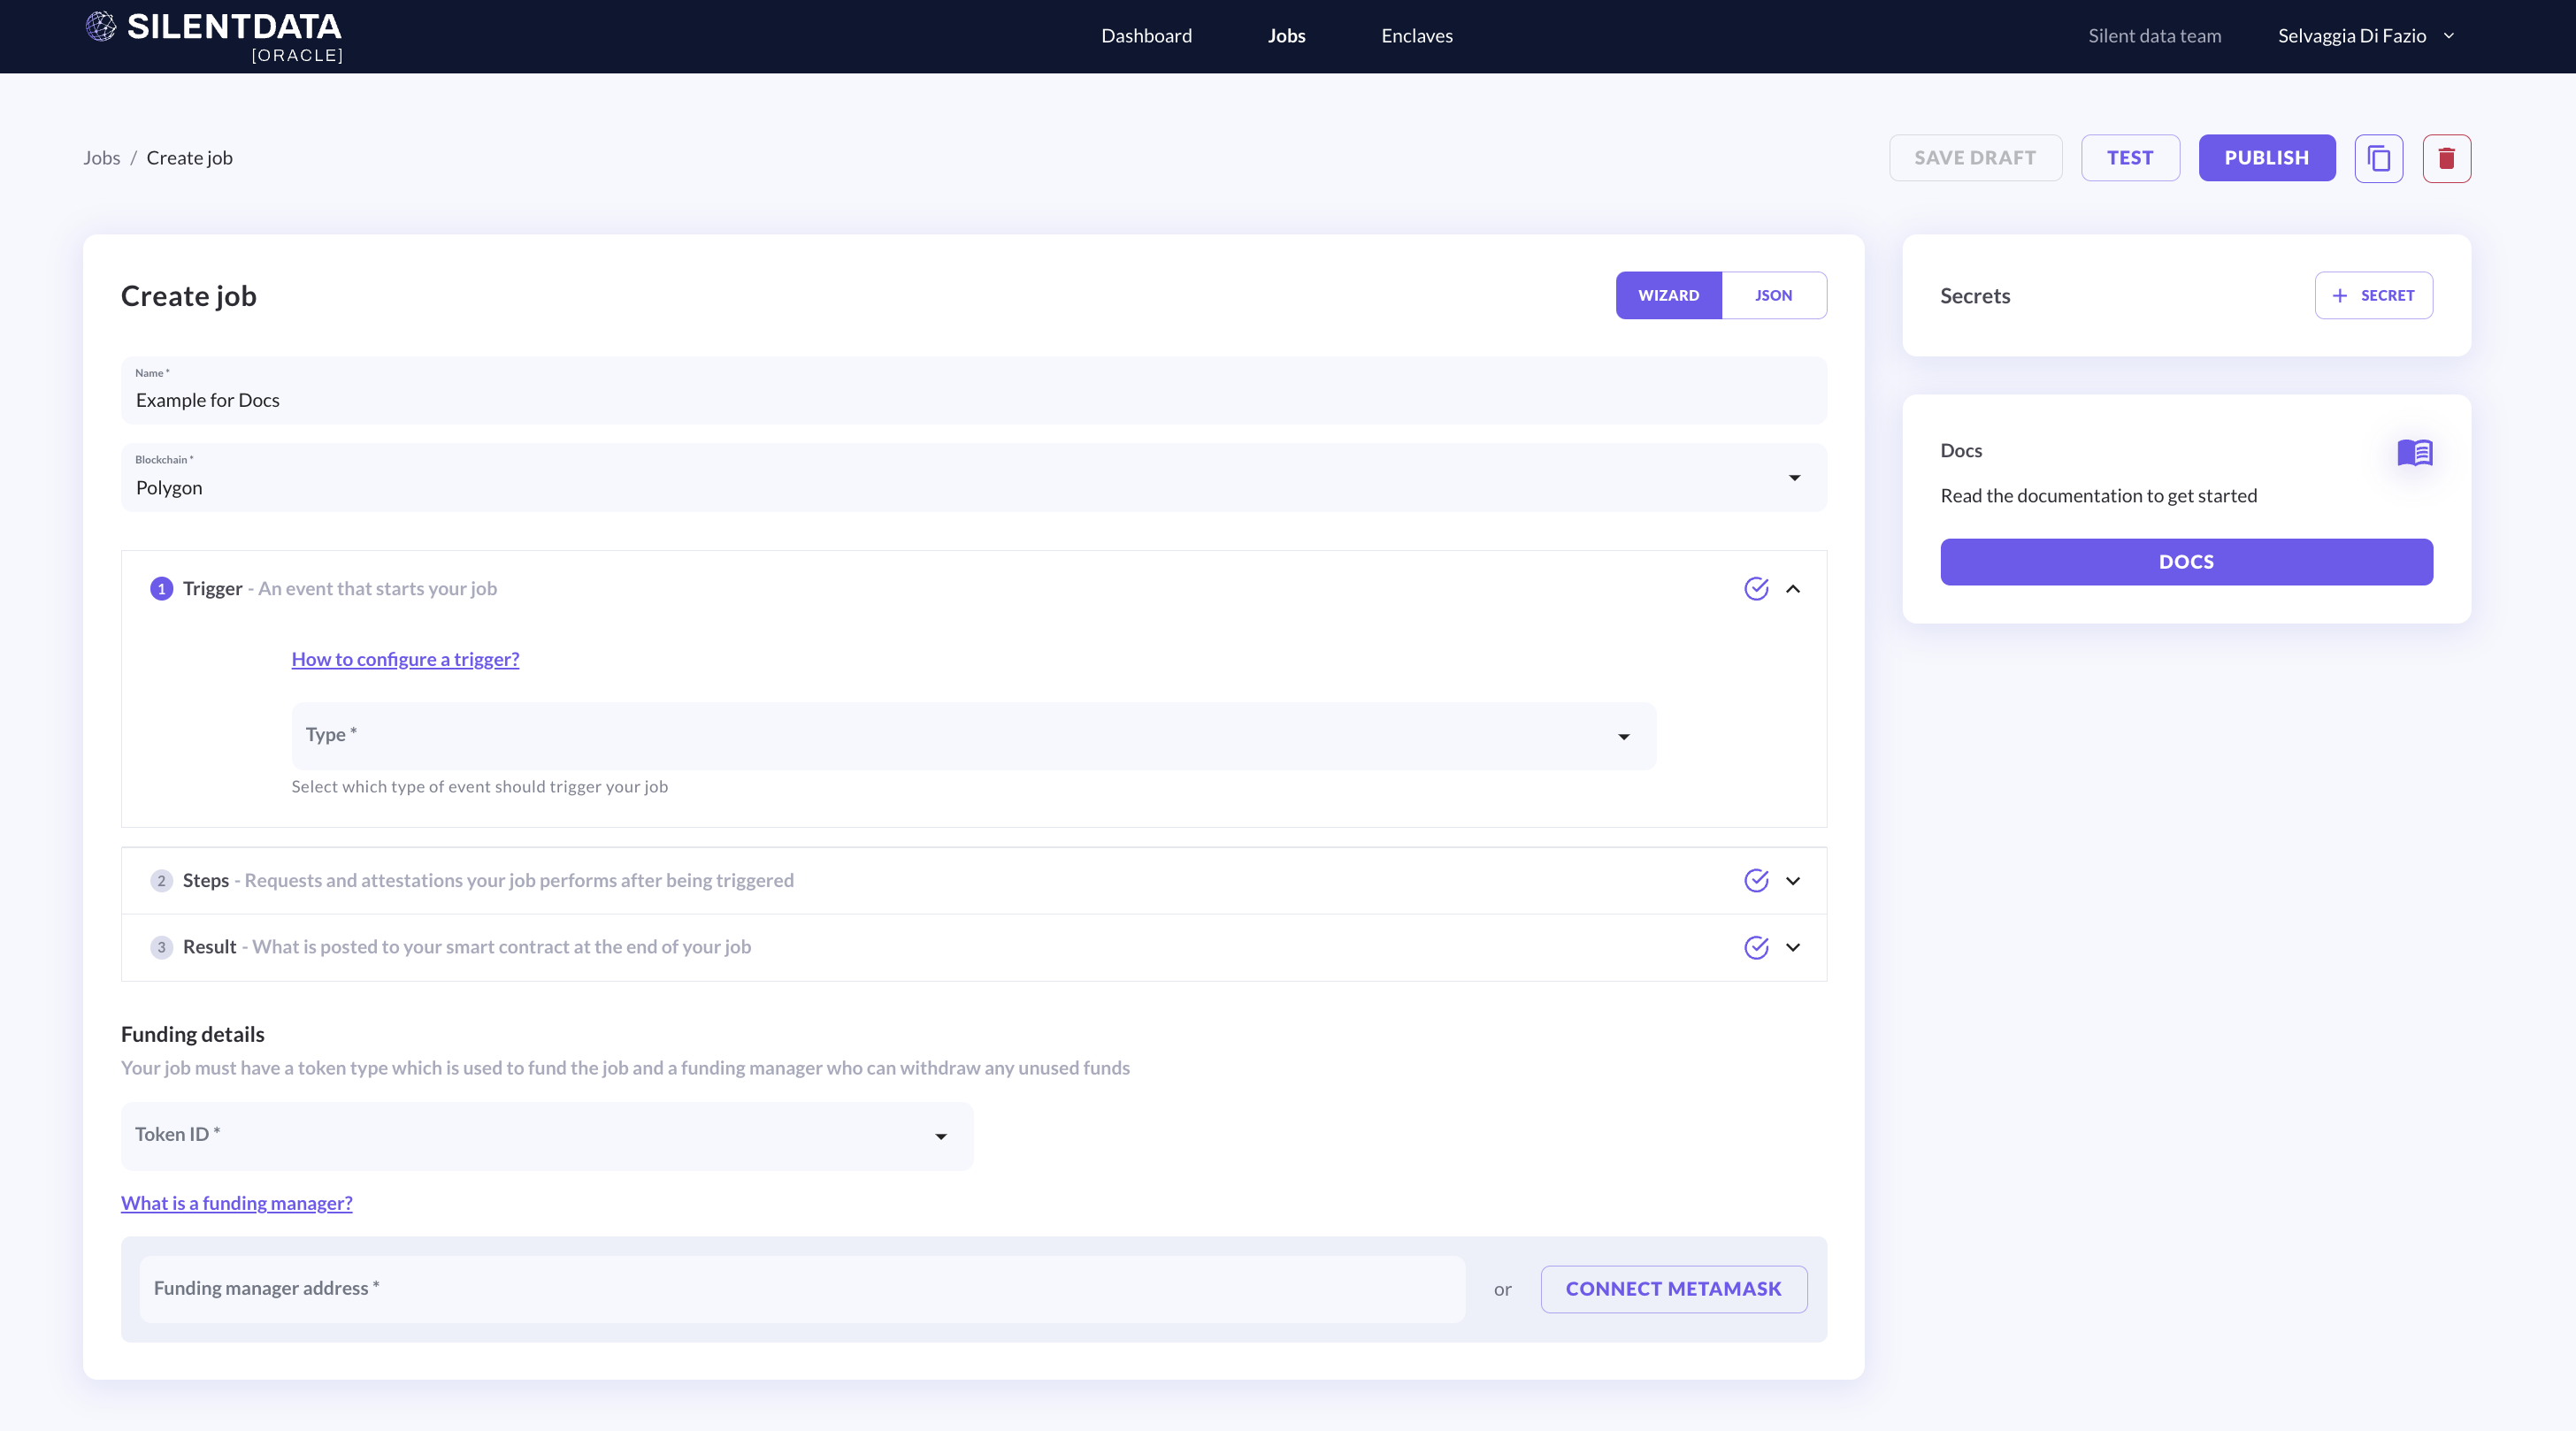
Figure 1 Create a job - Job details page - trigger type
Once the trigger is selected, there will be different fields to fill. Let’s start with the webhook.
In the case of a job triggered via webhook, the only other mandatory field is the format. Then you can select an allowed caller to add more security to the job configuration. The allowed callers, indeed, will be the only IP addresses able to trigger the job configuration. In case you want to add allowed caller please use the ADD button.
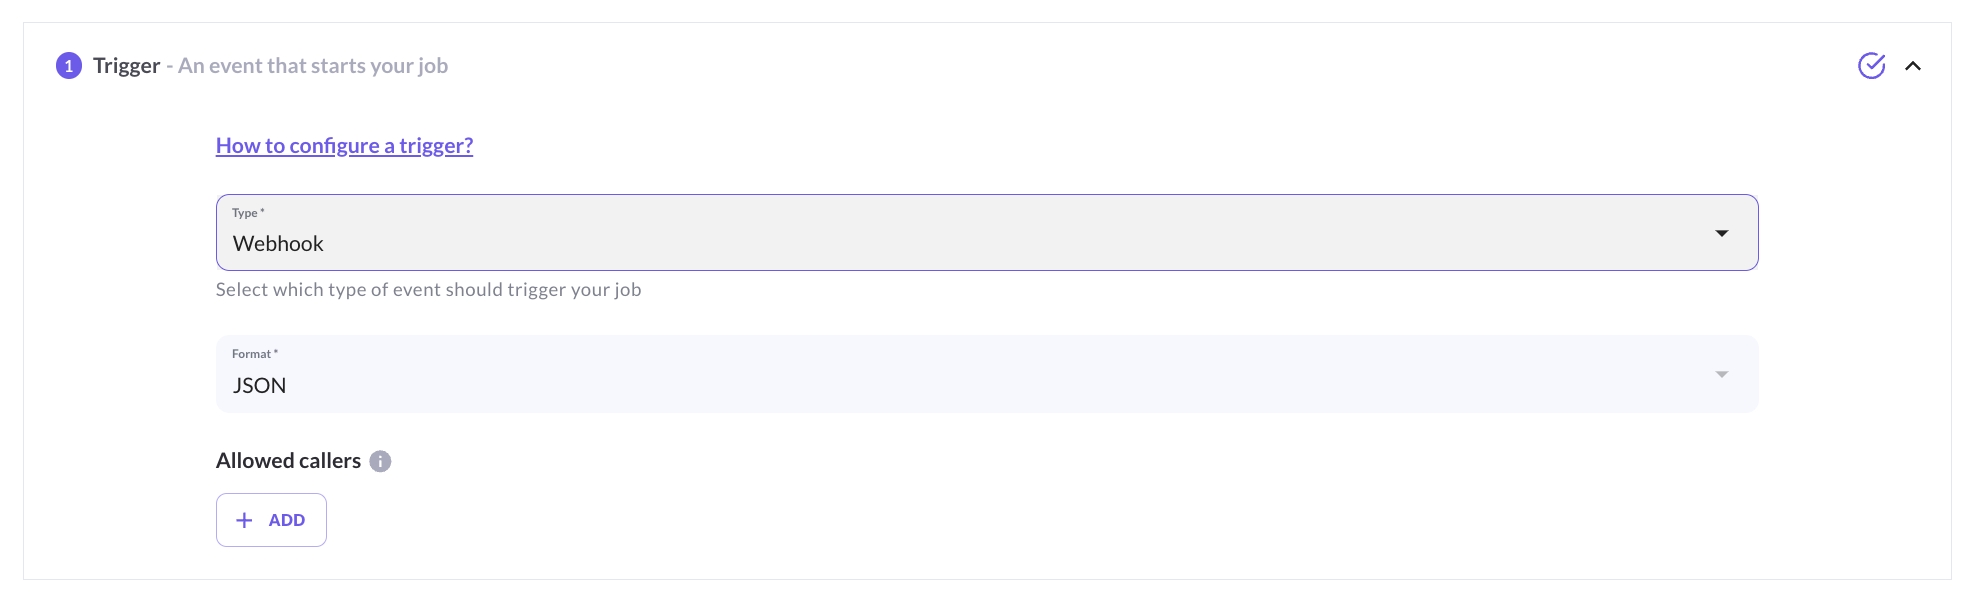
Figure 2 Create a job - Job details page - trigger format - Webhook
The job can be triggered directly from your smart contract.
To complete this section, you need a Trigger contract address. So you need a deployed Smart Contract.
If you want guidance on "how to generate" one, please use the contract generator button on this page. Remember to copy the contract and deploy it with your preferred IDE.
An Example of a trigger smart contract generated in Silent Data [Oracle]
//Example trigger smart contract generated in Silent Data [Oracle]
// SPDX-License-Identifier: MIT
pragma solidity ^0.8.20;

// Use openzeppelin library to improve contract security
import '@openzeppelin/contracts/access/Ownable.sol';

// Import the interface for the funding contract
interface IFundingContract {
  function emitSilentDataJobTrigger(string calldata jobId) external;
}

contract TriggerContract is Ownable(msg.sender) {
  IFundingContract public fundingContract;

  // Edit the funding contract address, callable by the contract deployer
  function setFundingContract(address _fundingContract) external onlyOwner {
    fundingContract = IFundingContract(_fundingContract);
  }

  // Implement logic to call the funding contract, to emit an event that triggers a job
  // Only configured allowed contracts will be able to trigger specific jobs
  function exampleMethod(string calldata jobId) external {
    require(address(fundingContract) != address(0), 'Funding contract not set');

    // Add logic for job triggering here

    fundingContract.emitSilentDataJobTrigger(jobId);
  }
}
Once deployed, you will have the contract address, and you can fill in the required field (allowed caller).
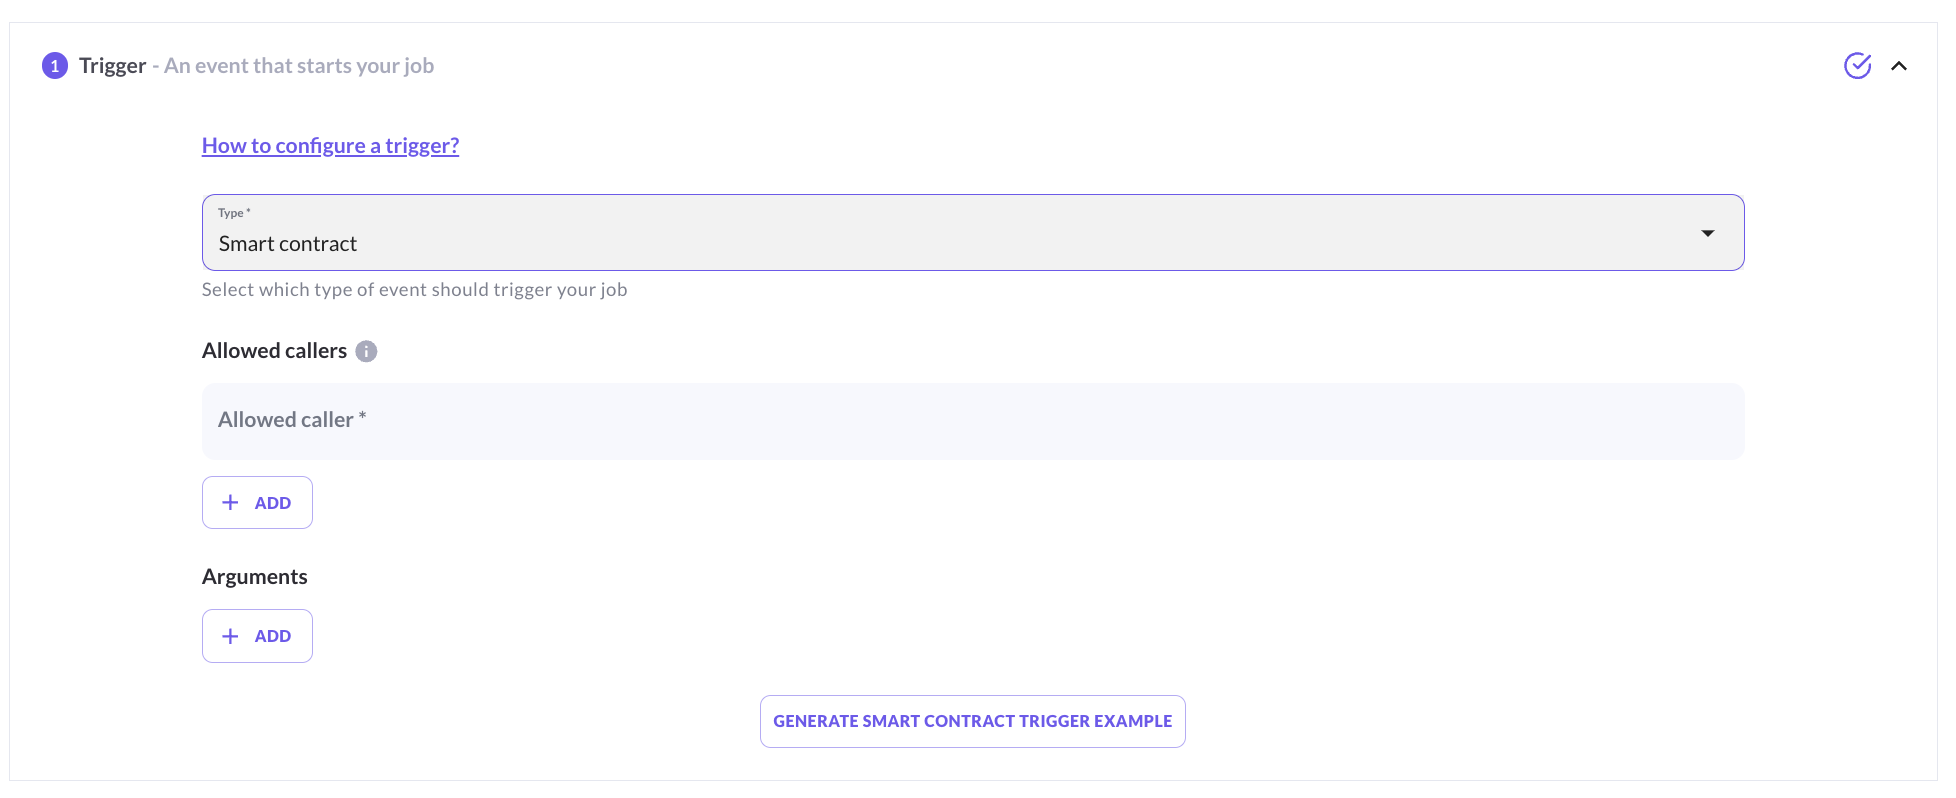
Figure 3 Create a job - Job details page - trigger format - Smart Contract
For your Trigger contract, you will need to set the funding Contract address and the Result contract address, look into the dedicated page Smart Contracts Addresses per Network for the list of addresses per network and environment (please carefully select the one you need).
For the smart contract trigger, the fields to fill are the following:
Allowed Caller (mandatory): set the deployed trigger contract address. Example of a smart contract address: "0x1c8c6ffd8896a2d39a9e33ac10c1d5c4623bc236" (do not use this address - this is the address of your smart contract)
Once the icon over the trigger accordion turns purple, it means that at least all the mandatory fields have been completed.
The next article explains how to set up the steps of your job configuration.